A couple of my favorite additions to our entry way have been the skeleton key art and the stick & twig star. They were both so easy! And completely FREE!
I knew that I wanted the addition of a star in the space, but I didn’t want to spend any money on it. Bring on the creativity!
The first place I turned was to the great outdoors.
What’s more free than sticks and twigs? Ummm….. nothing! Ok, maybe rocks… but sticks were the much better option… Although now that I’m thinking about the whole rock star thing it could be pretty cool. Hmmm…. thinking… thinking…
Anyways, this is so very easy! No joke!
Here’s what you’ll need:
-Sticks
-Hot Glue
-Piece of Cardboard, or even a piece of paper…
-Pencil
-Jute String
Here’s your step by step tutorial:
-First: Pick a few good length sticks in a color & texture that you like. Mine are willow and aspen.
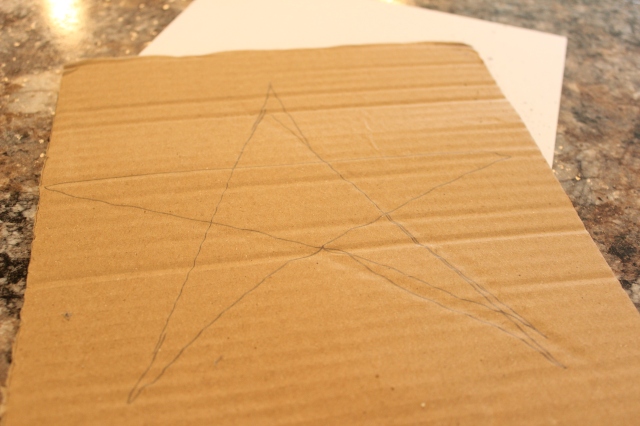
-Second: With your pencil and cardboard draw a star in the size that you want.
-Third: Begin breaking your sticks into pieces based upon your star drawing and lay each stick on the line that it was broken for.
-Four: Hot glue the ends of each stick piece together until the star is completely formed and glued together.
-Five: Tie a piece of Jute string around the top of the star. Hang.
Love that star!
How awesome would it be to hang a really large star from the front porch? Or what about little tiny ones on the Thanksgiving table or hanging from the Christmas table? Awesome!
These little projects have truly made a huge impact, which makes me happy that money doesn’t always buy the greatest things!
Big smiles!


[…] idea with sticks & twigs as the main source of inspiration. (If you missed my first post, the stick star sure inspired me to create FREE things from […]