Well, it’s time to give your our Christmas tour. I’ve already shown you a few areas of our home, but there are a few new rooms and pictures sprinkled in there too. If there were ever too many pictures in one post, this could be that post. 🙂
. ENJOY .
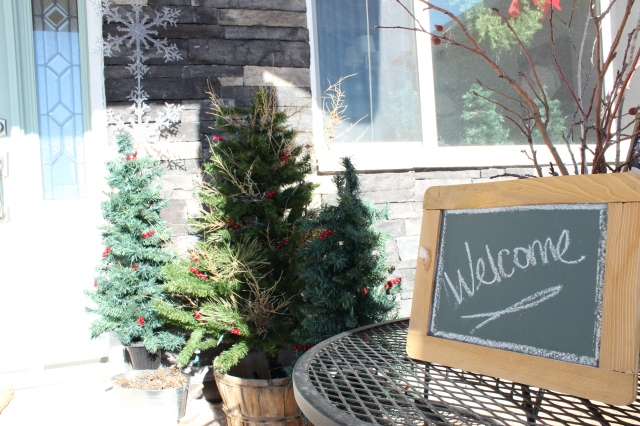
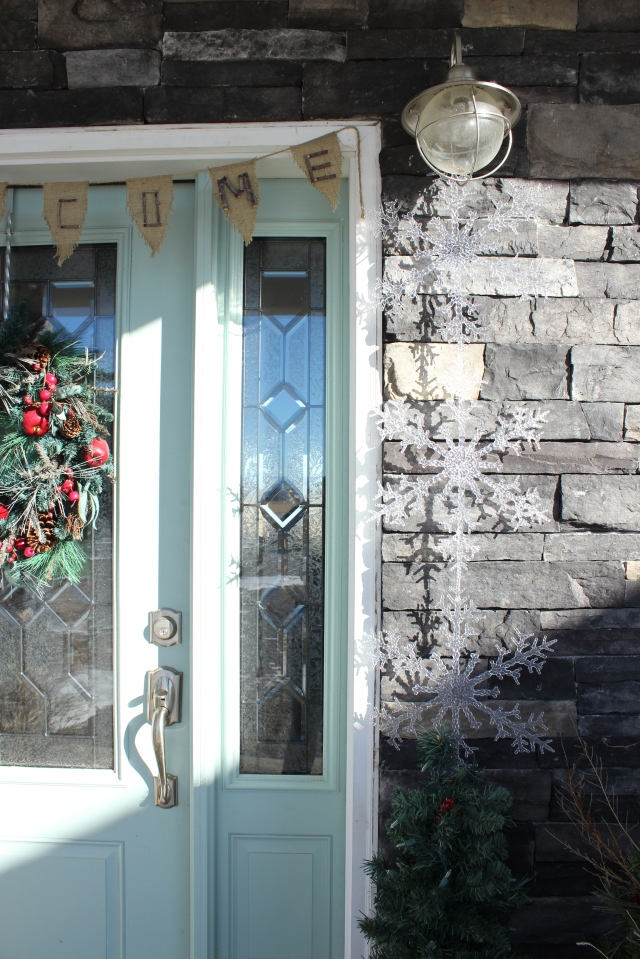
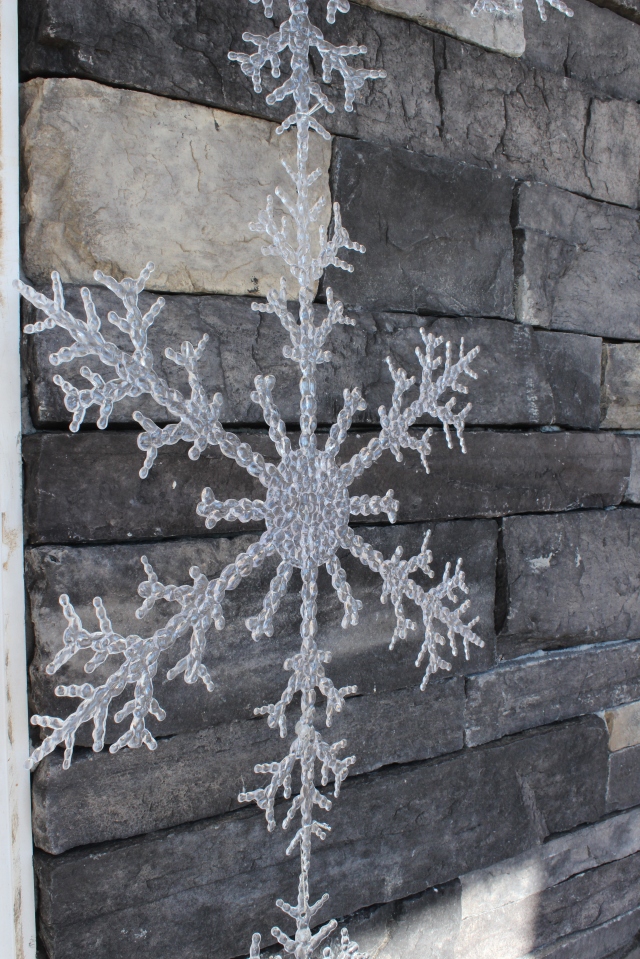
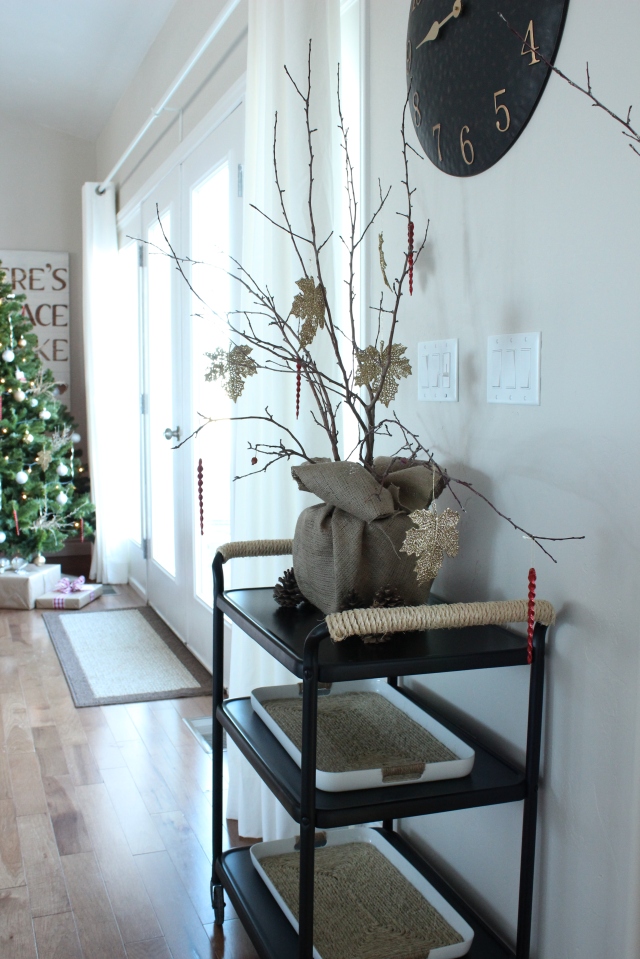
Front Porch:
I almost thought this poor little area wasn’t going to make it through the snow and heavy wind beating a couple of days ago. I may have had to search the yard for several of the items, but here it is!


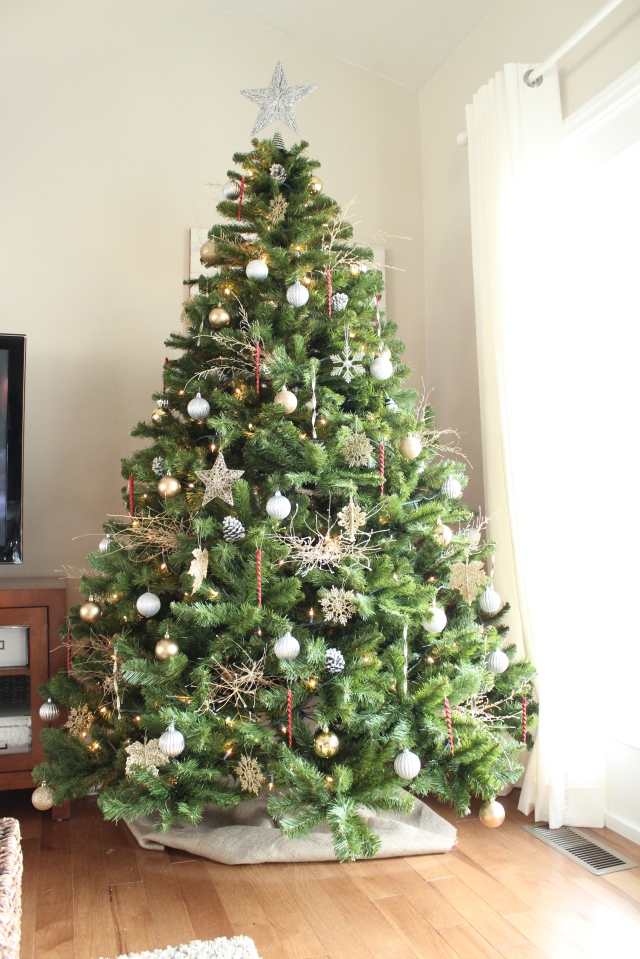
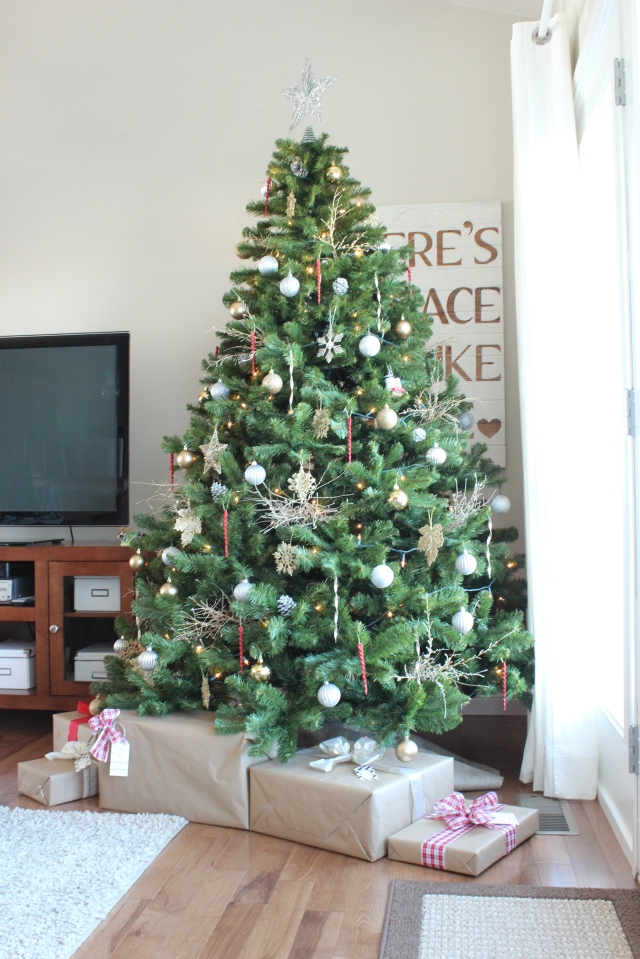
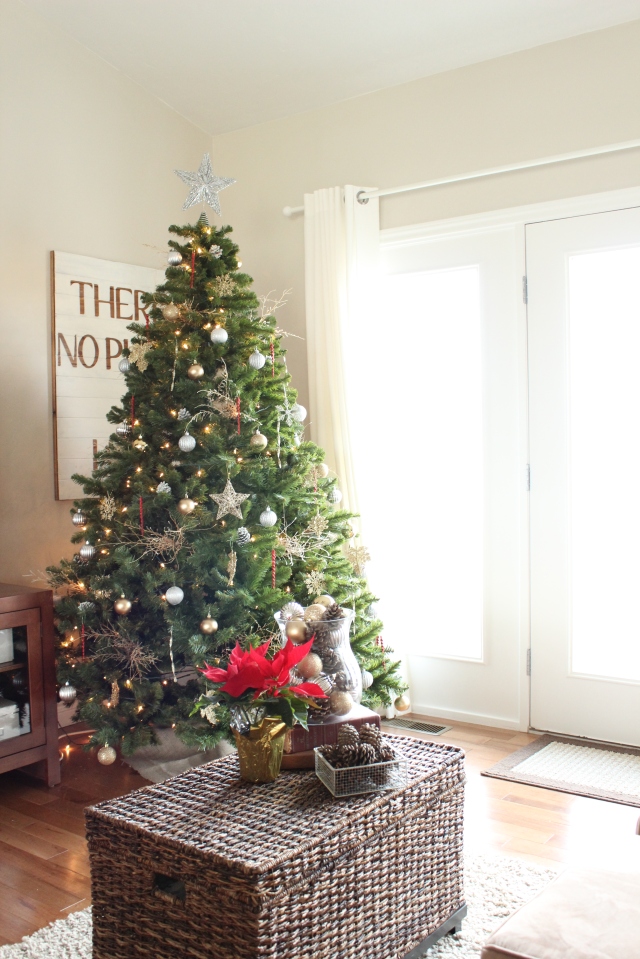
Living Room:
I already showed you our tree, but this time we have presents under it .


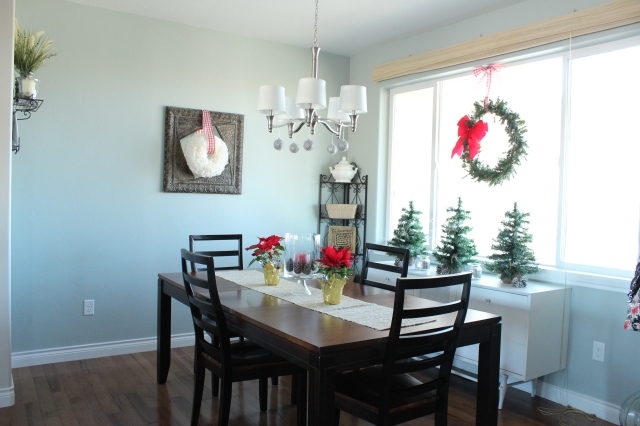
Dining Room:

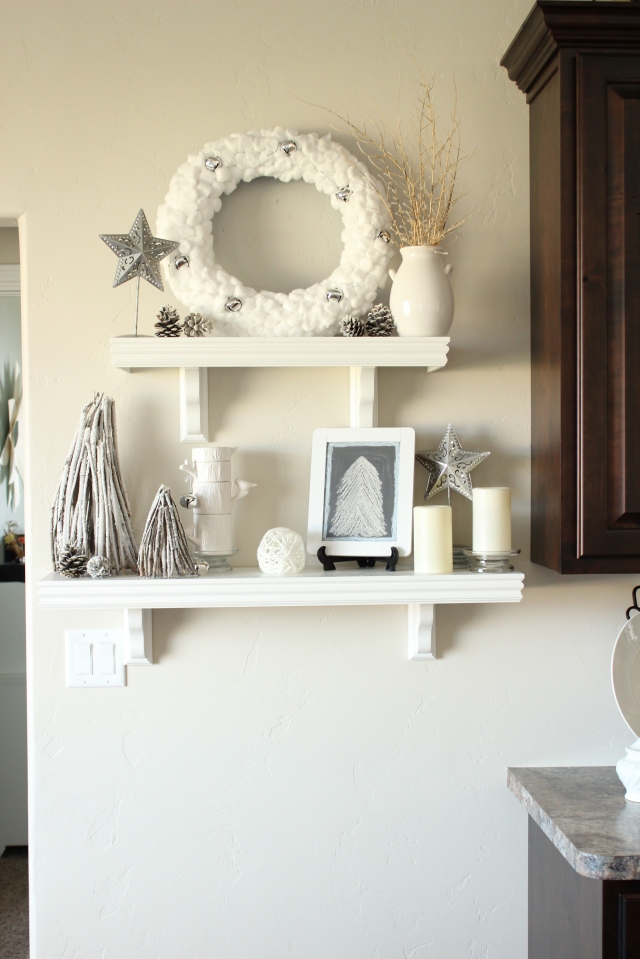
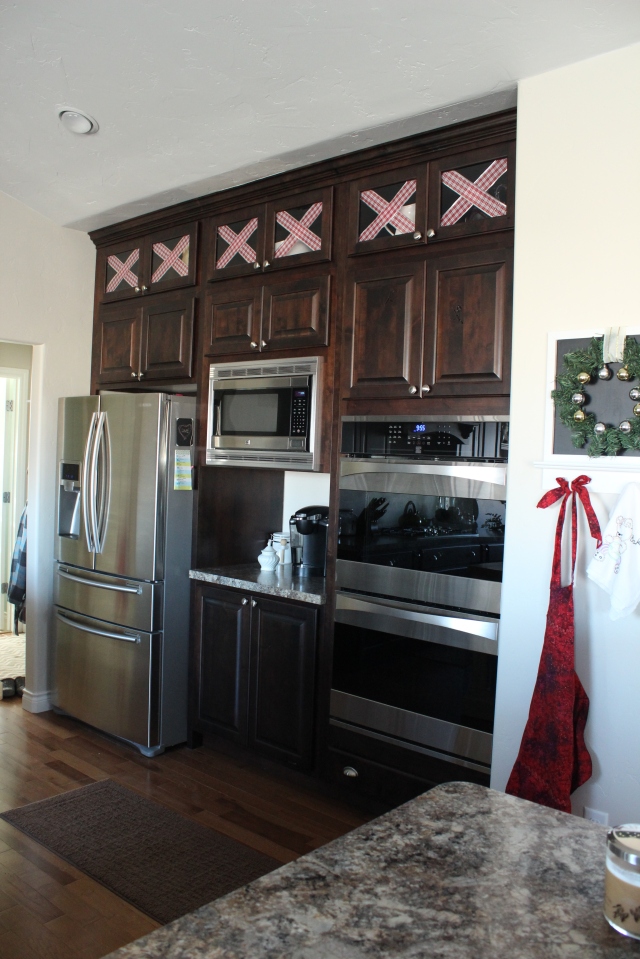
Kitchen:

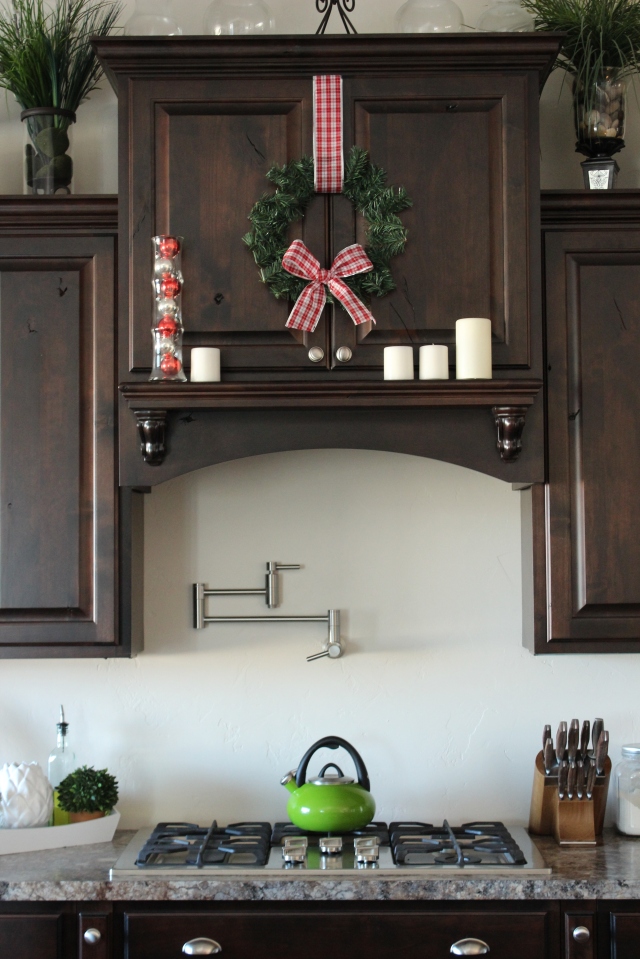
Here are our Christmas Shelves:
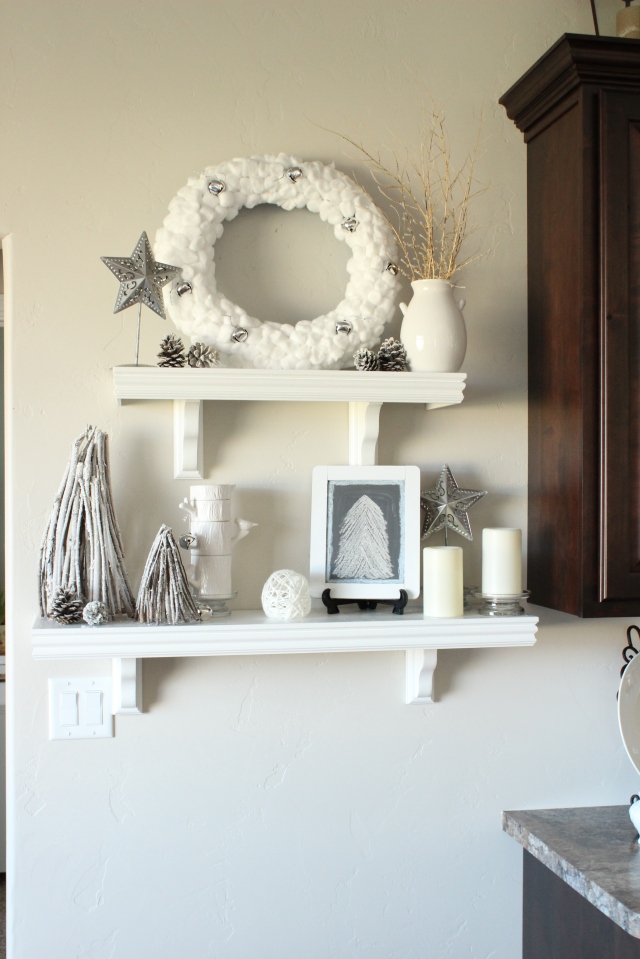
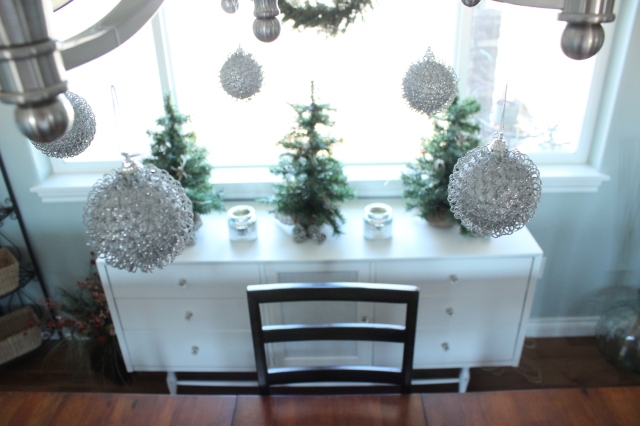
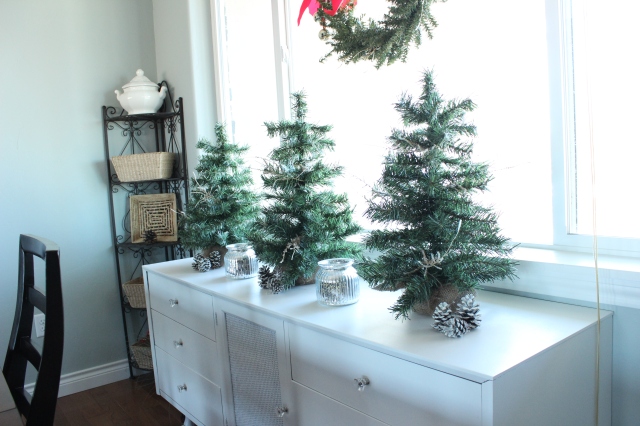
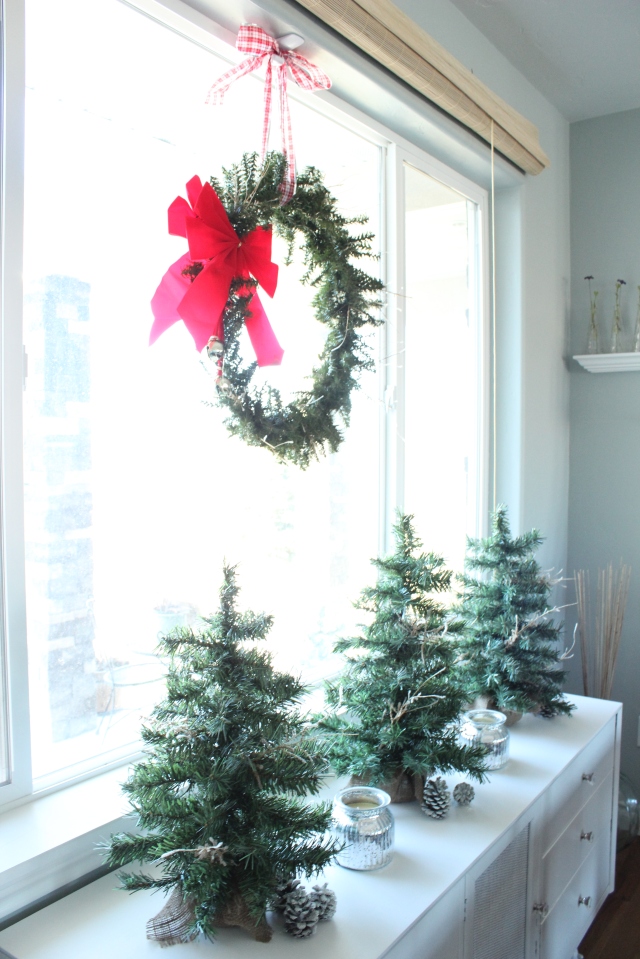
And my favorite little DIY trees:

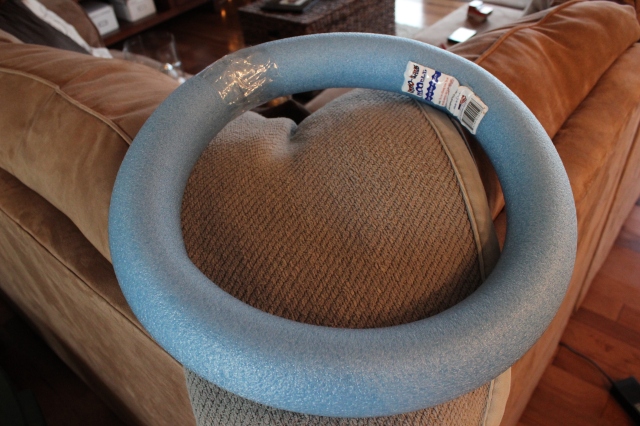
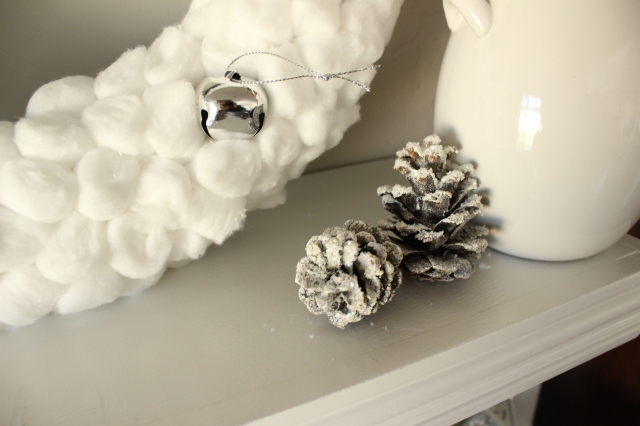
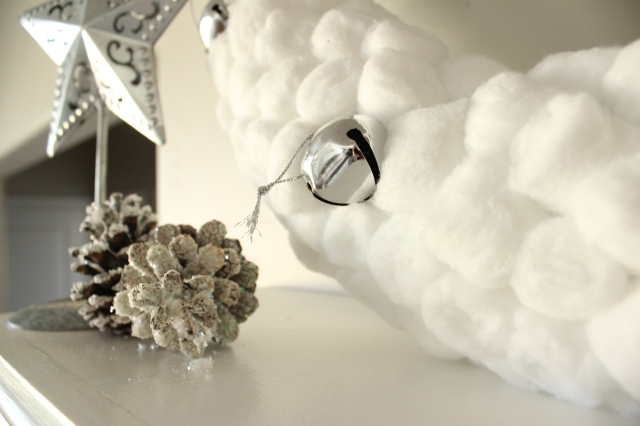
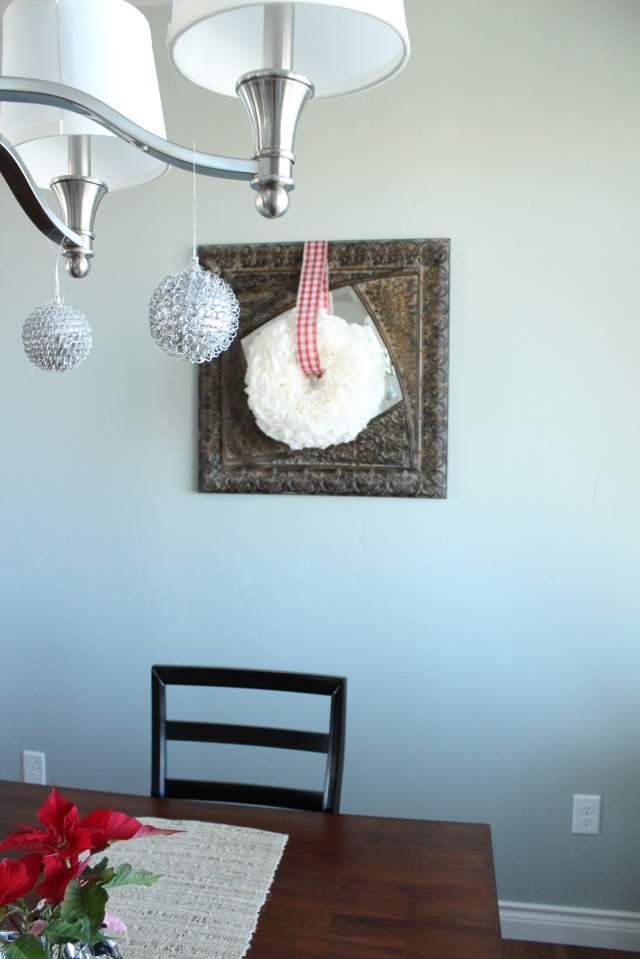
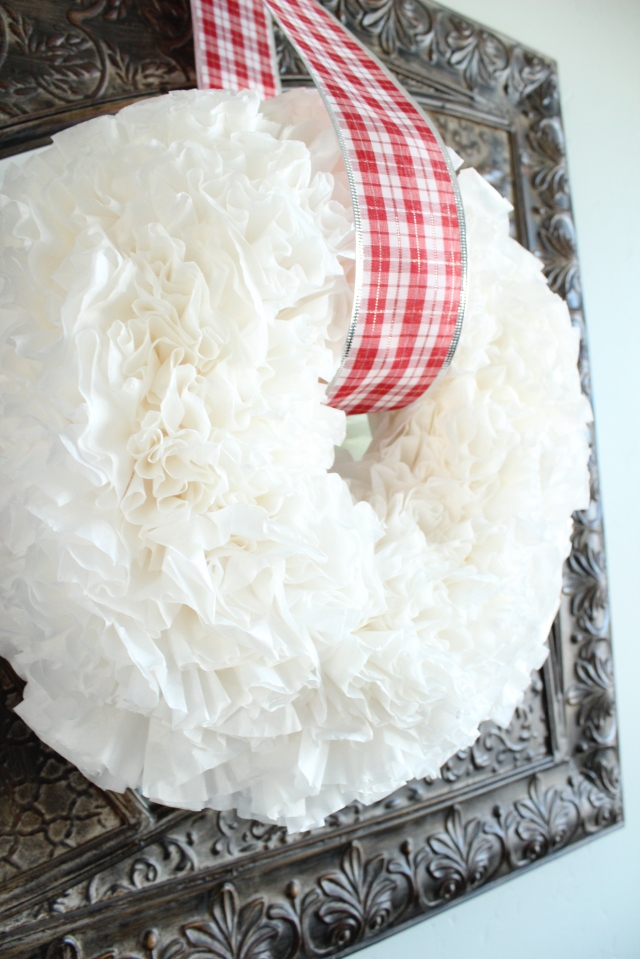
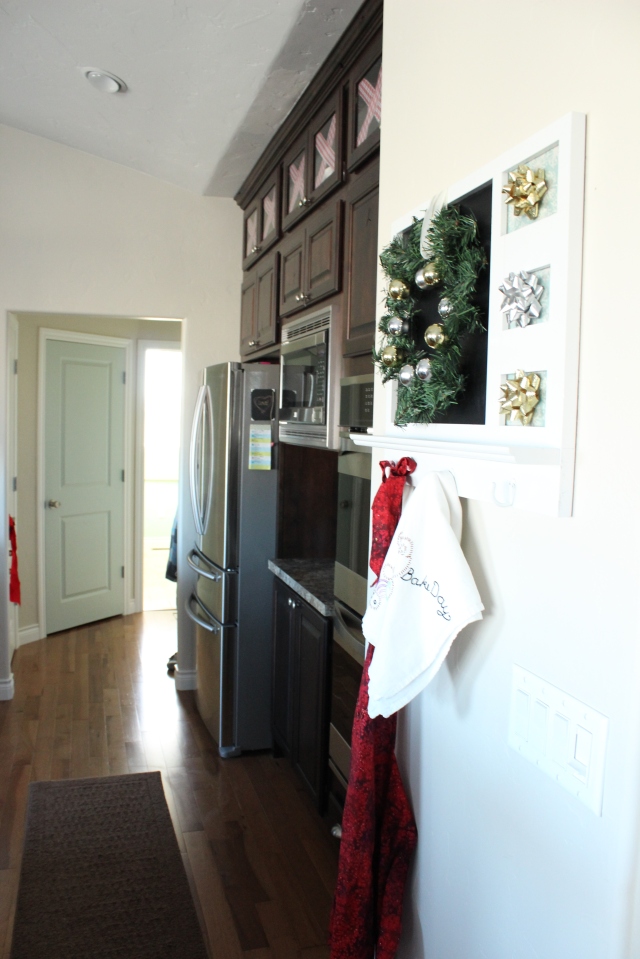
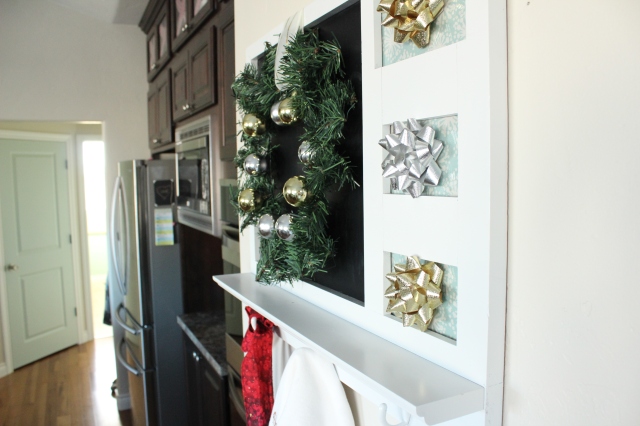
And our fluffy cotton ball wreath:

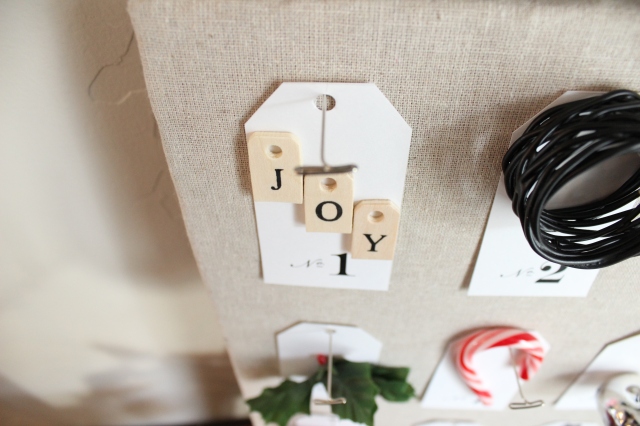
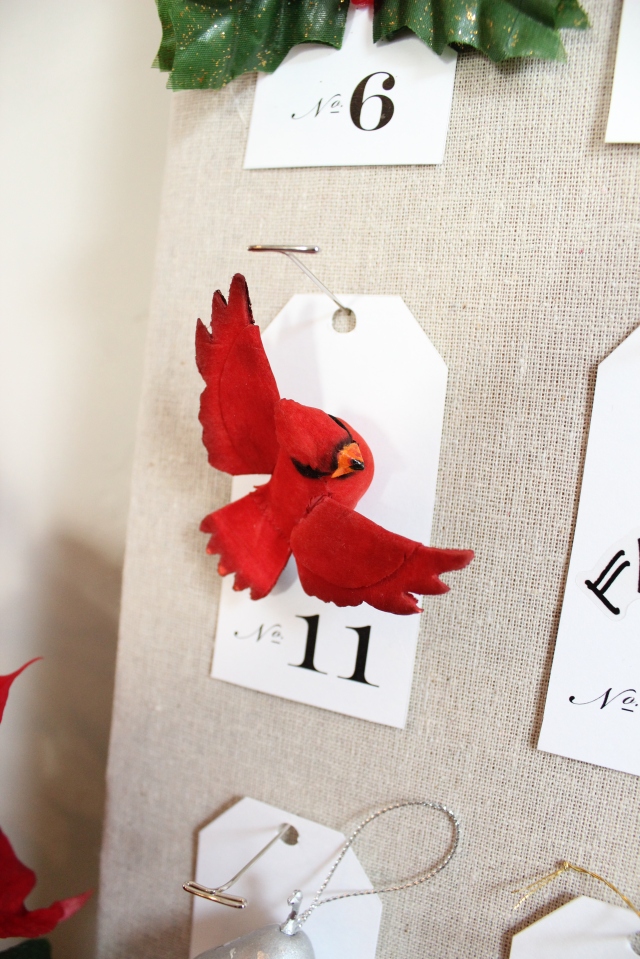
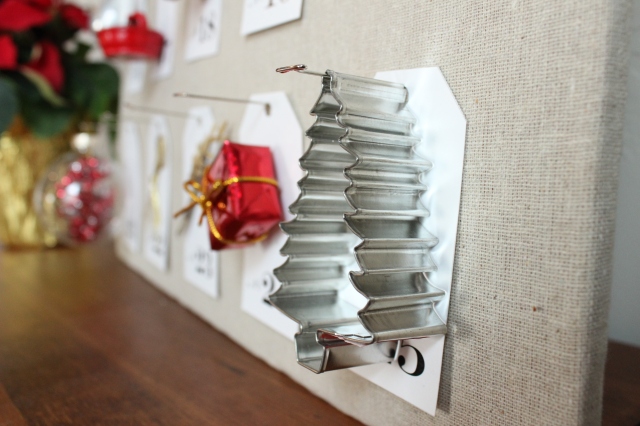
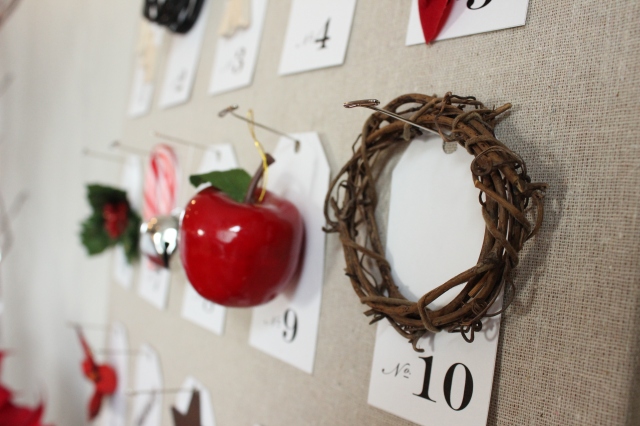
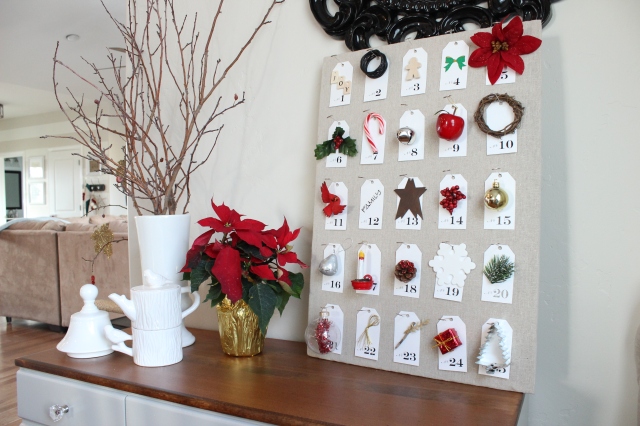
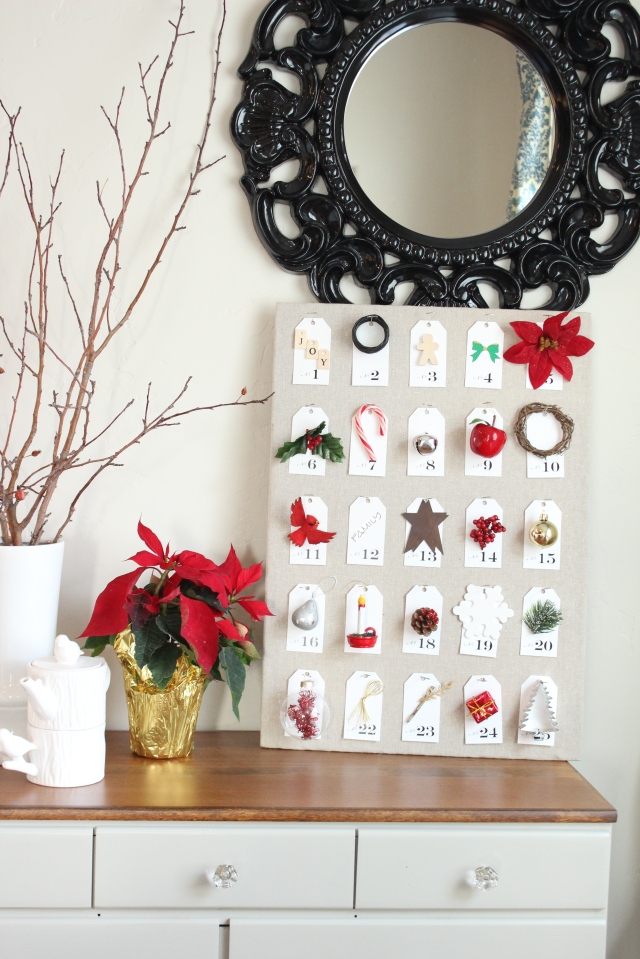
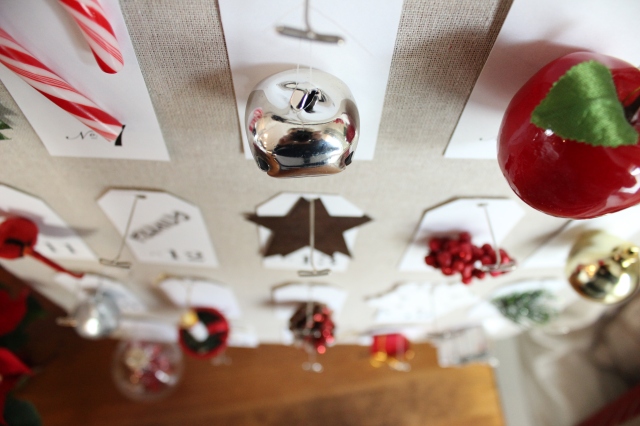
Breakfast Nook:
With the adorable Christmas Countdown.


There it is! We’re all ready for Christmas, well, minus a few last minute Christmas gifts that are set to arrive any day. 🙂

Stay tuned tomorrow for a bit of exciting news!

Linking up to: