Hello!
First off, thank you all for your kind and happy comments about our Christmas shelves. We love them too! 😉
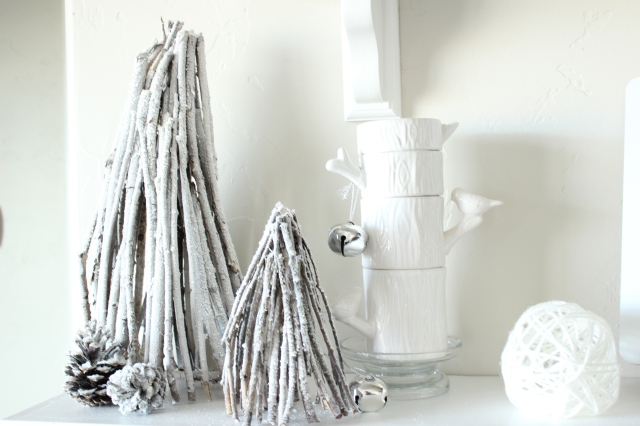
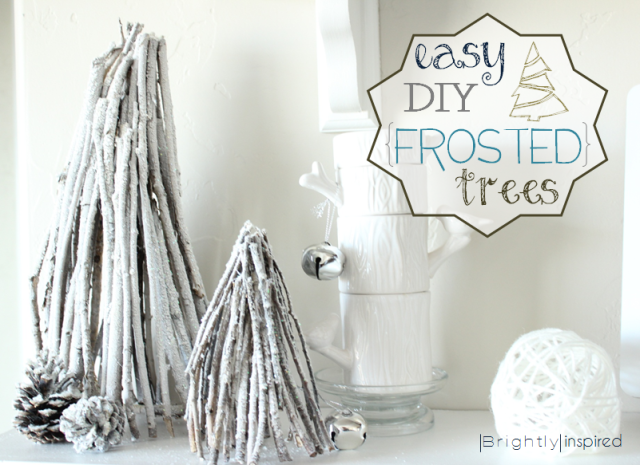
Today, I’m showing you how I made my super easy and super cheap Frosted Twig Trees. (Say that three times fast!)
Like I mentioned in my original post, I really didn’t want to spend any money on decorations this year. So, l did what I normally do, and went outside to see what I could find.
Because we have about 5 trees that shed like crazy, my first thought was to use the sticks and twigs for something. I gathered up as many as I could find, which ended up being a large amount.
Once I brought them inside I figured they would look pretty awesome is they were “frosted”. Ding! The light bulb went off and I envisioned trees.
What a good little light bulb it was! 😉
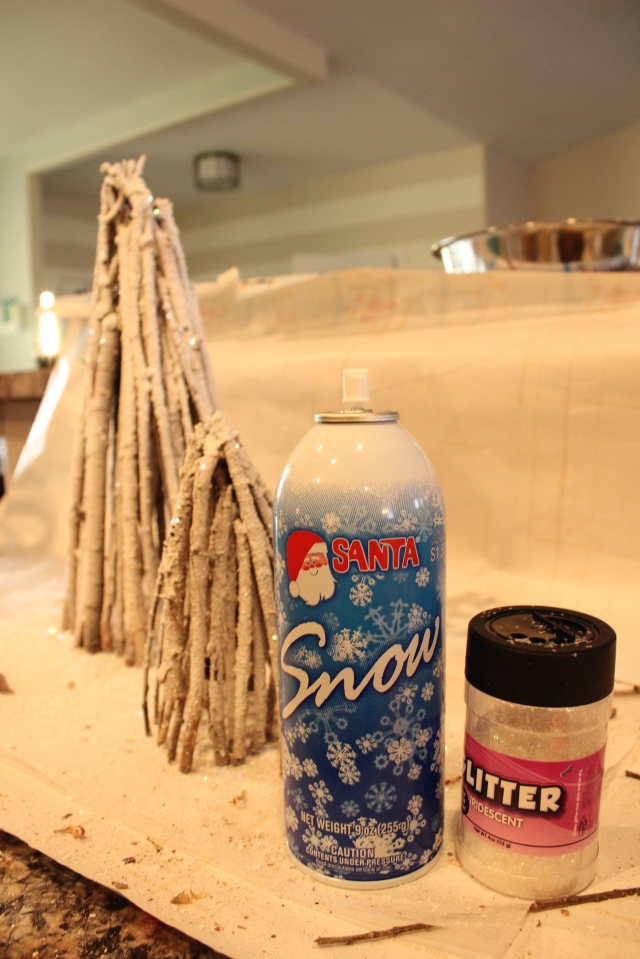
For this project you will need:
-Lots of sticks in about the same size length
– Hot glue gun & glue sticks
– Snow spray, white spray paint would work, but I wanted a little “rougher” texture
– White glitter
– Spray adhesive
Step One:
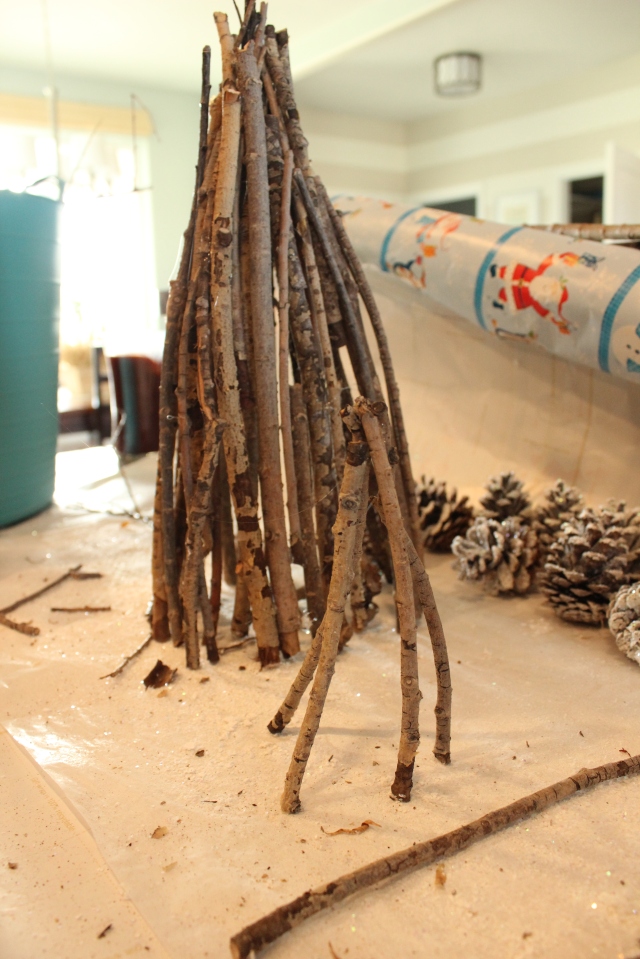
Grab four sticks that are the same length. Take two of them and hold the top of the sticks (which will be the top of your tree) together. Spread them apart at the bottom (with your fingers holding the top of the sticks together) to form one side of the tree. With your free hand, grab the hot glue gun and drop some hot glue on one of the sticks at the top. Stick the two sticks together. While the hot glue is still wet, spread the bottom of the two sticks as far apart as you want the base of the tree to be.
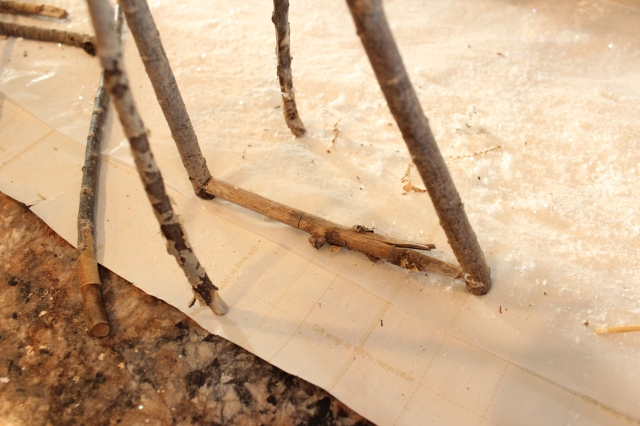
Step two:
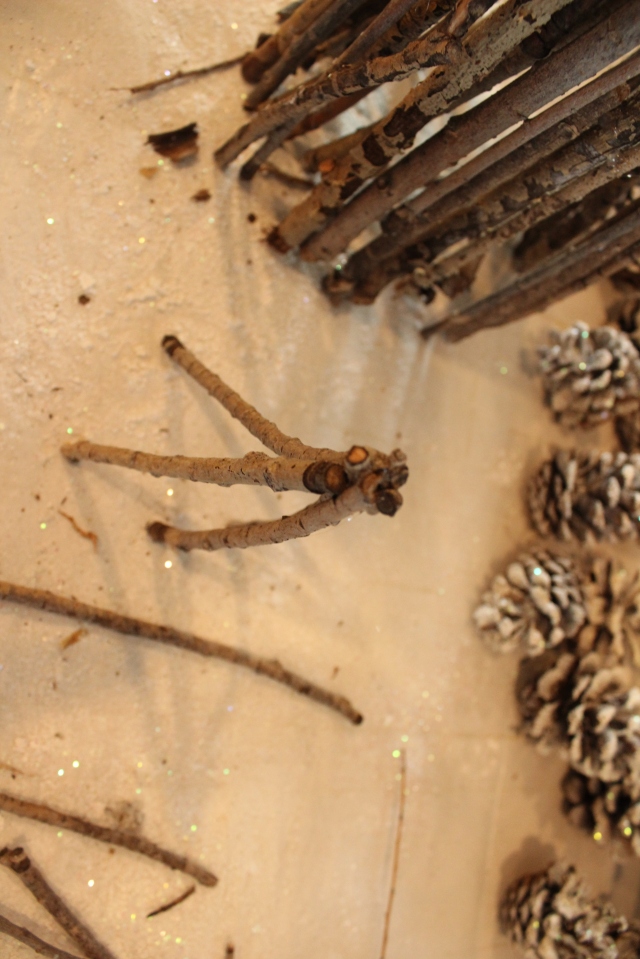
With the top of the two sticks attached with hot glue, break a stick so that it fits snugly in between the bottom of the two sticks. Hot glue it in place. I used this as a brace to hold the sticks together at the bottom. See the picture below.
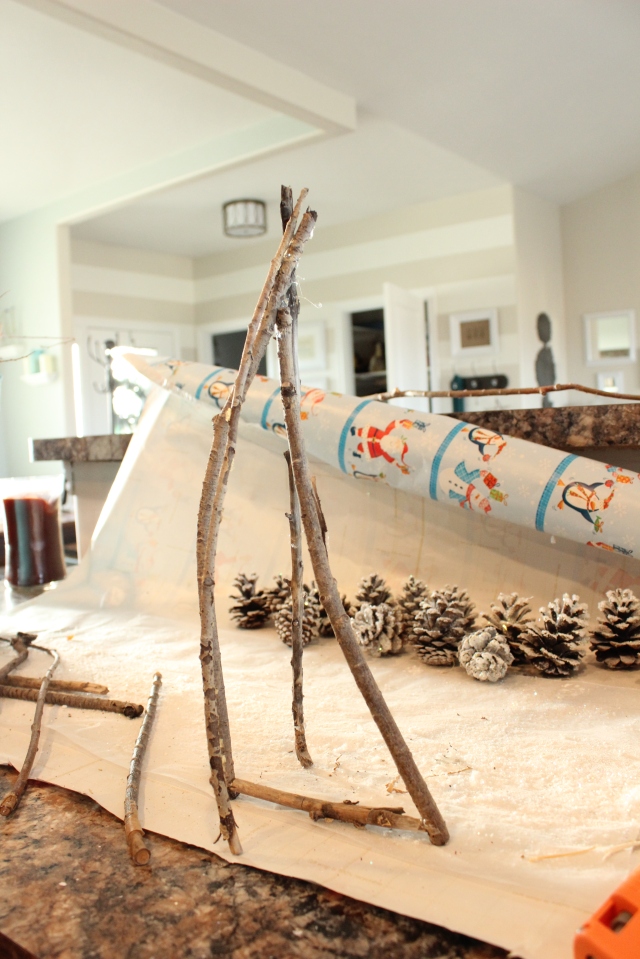
Step three:
Now, hot glue the other two sticks at the top, placing them on the opposite sides, like the picture below. Be sure to spread them apart at the bottom, giving the tree its form.
Step four:
Grab several of your sticks and start hot gluing them to the form of your tree. Be sure to hot glue in between some of the sticks, as well as gluing the top. You don’t want your tree to fall apart!

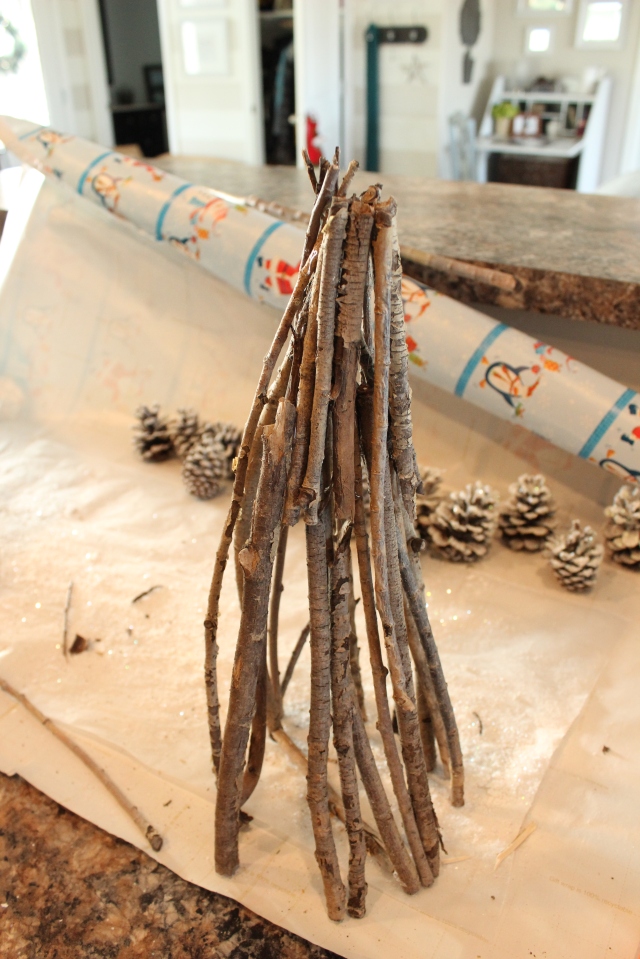
To give the tree some dimension, I decided to leave some areas open. And because not all of my sticks were long enough, I glued some shorter ones to the top and middle of my tree. It gave it some awesome depth and texture!
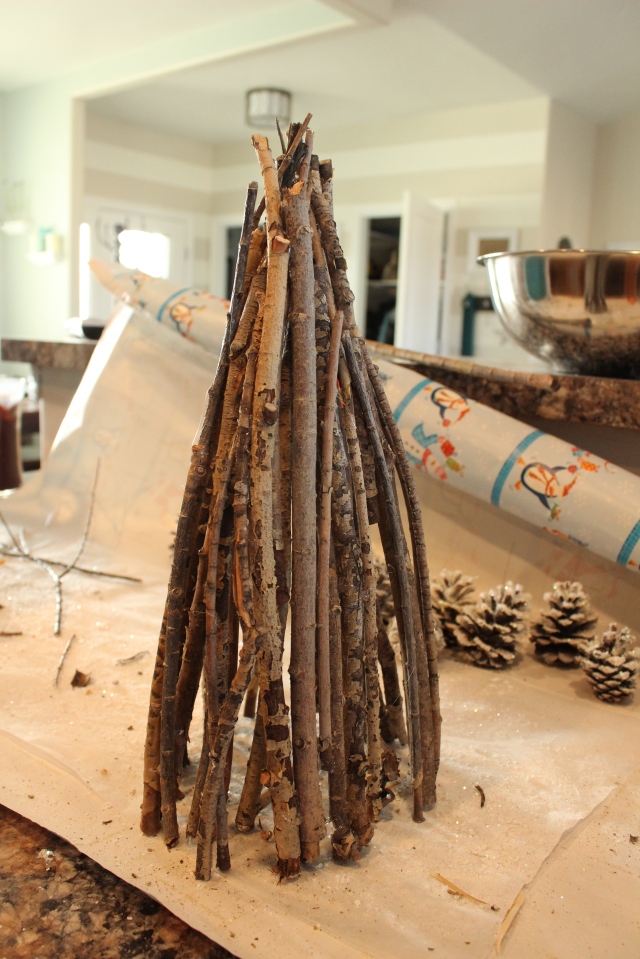
You’ll probably also notice that not all of my sticks are straight. Mother nature isn’t perfect and my trees aren’t either! They have curves and bends and a lot of the sticks have different texture. It makes it all the better!
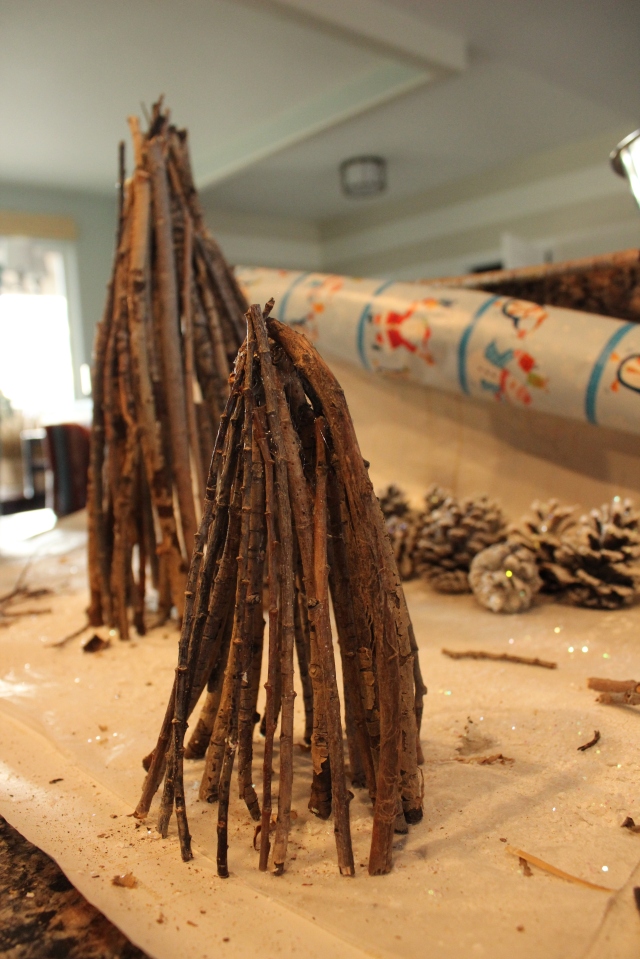
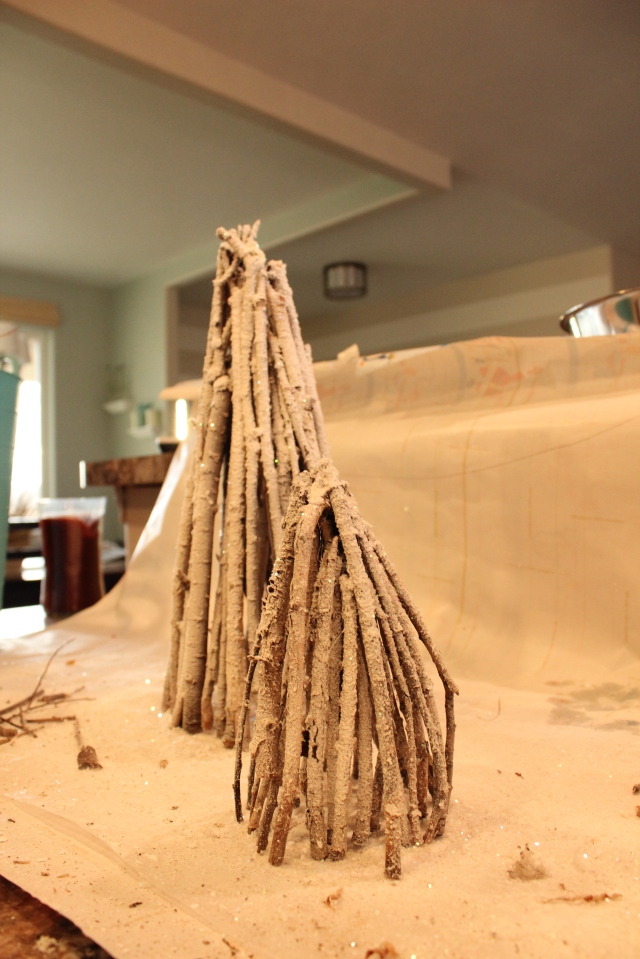
With the big tree done, I made my second tree, which I wanted to be smaller. Same steps, but this time I didn’t use a brace to support the bottom since it was going to be a smaller tree.
Just glue the tops together and spread the bottoms apart…
Then add your other sticks and hot glue in place…
With both of the trees done, let’s add the snow!
Step five:
Now, with the snow spray, give your trees a nice coat. How thick you make it, or where you spray the snow is entirely up to you. I tried to think about where the snow would land naturally and spray in those areas.
*A fair warning: make sure you have some sort of paper or card board set up to catch the over spray. The trigger on this isn’t nearly as nice as the one on spray paint and the snow comes out full force- whether you want it to or not. 🙂 Not like I know from experience or anything.
Step six:
Sprinkle on the glitter and let it fly. You can pick how thick and even you make it. I kept shaking the bottle until I thought it was covered.
Step seven:
Spray on a *light*, but even coat of spray adhesive.
Step eight:
Sprinkle on more glitter.
Step nine:
Spray on another *light* coat of spray adhesive.
Step ten:
Let the trees dry! I let mine dry for about 24 hours. The length of drying time will really depend on the thickness of the snow. However, the can says not to spray it on too thick or it won’t dry. I’d follow that!
Step eleven:
Be patient. You really want them to be as dry as possible!
*Side note # 1- The snow spray will seem like it won’t dry and that it could be easily be wiped off. The spray adhesive really helps with this, but make sure you don’t “man handle” the trees when they’re dry. The need to be handled gently and with care.
*Side note #2- Some glitter will fall off. It’s just the way it goes. The spray adhesive should help glue it to the snow.
*Side note # 3- The spray adhesive will make the snow crackle a little bit, but it only gives the branches more texture.
*Side note #4- Since you are using hot glue, you will have a few hot glue strands that will become noticeable after your spray on the snow and spray adhesive. I took a pair of tweezers and gently pulled them off. All better!
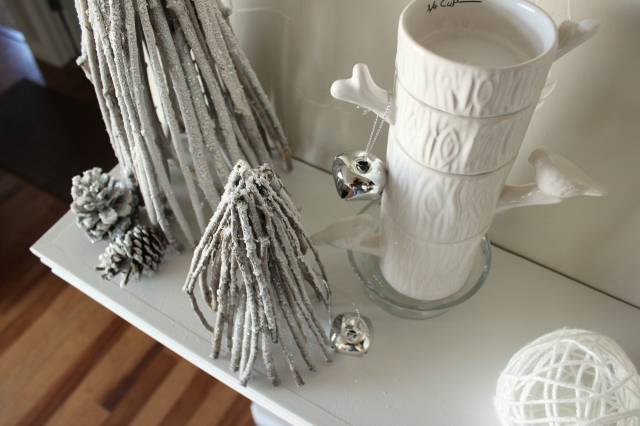
Once they’re dry, gently place them where you want them!
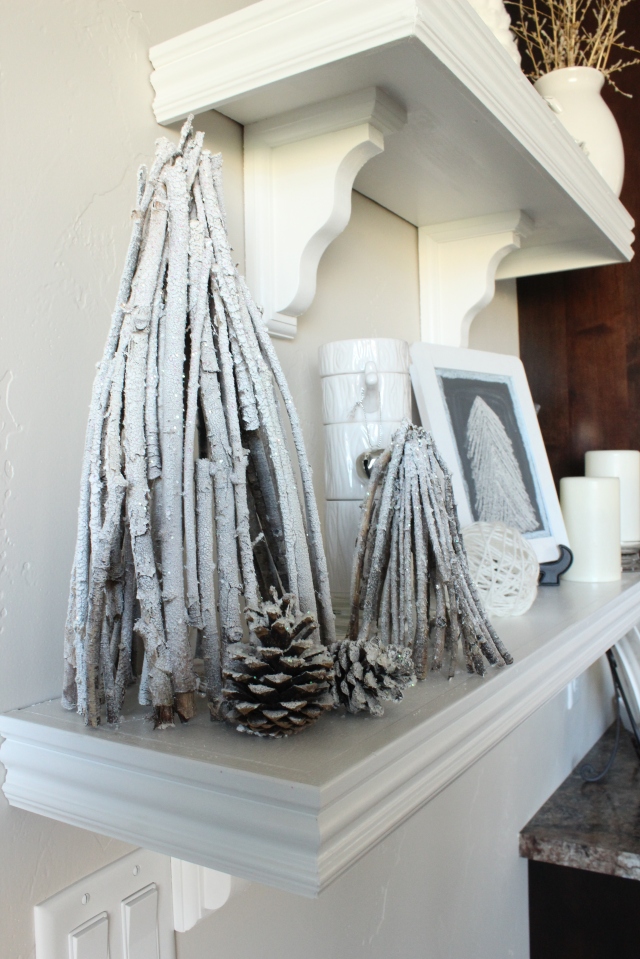
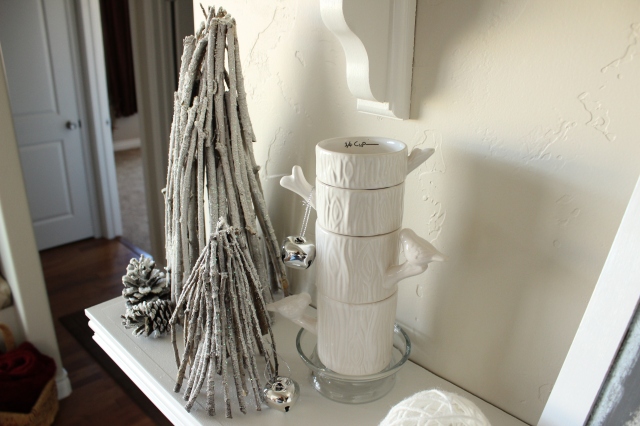

Really, these trees can’t be messed up. The hardest part is allowing them to dry.
And the price of these couldn’t be better! All the supplies I needed are found at Wal-Mart.
Sticks- Free
Glitter- $2.50
Snow Spray-$1.50- I think…
Adhesive- I had on hand.
Total Cost: $4.00
Boo Ya!
I’ve also been informed by several lovely readers that you can find these similar trees at Target, but I’m sure the price isn’t anywhere near mine! 😉
If anyone has a better method than using the snow spray, I’d love to hear it. I thought about using the white spray glitter, but it doesn’t provide the “snow” look, which is what I wanted and what really makes these trees shine!
Next up is the cotton and jingle bell wreath, which I did see at Target. Mine is definitely cheaper than Target and it’s too easy!
Big Smiles!

Linking up to:


wow! beautiful! 🙂 beautiful project 🙂
Thank you! I love the way they turned out! 😉
-Shayna
These look awesome! Definitely budget friendly 🙂
Thank you Leah! They are sooo budget friendly! 😉
-Shayna
This is great!! I did something similar except with wood dowels so needless to say I am a fan of how yours turned out!
Thank you Alex! These trees are so fun! And easy! Using dowels was a great thought!
-Shayna
These are soooo cute! Pinning!
xoxo, Tanya
twelveOeight
Thank you Tanya! I’m glad you like them! And thanks for the pin! 😉
-Shayna
So lovely, and what a great and detailed tutorial, thank you for that!!!
Thank you! I’m glad that you like the trees and that you found the tutorial helpful! 😉
-Shayna
Beautiful project {love simple crafts that make a big impact}! Thanks so much for sharing your creativity! LOVE them! 🙂
Thank you Roeshel! I LOVE them too! Thank you so much for looking! 🙂
-Shayna
Great idea!! Thanks for sharing!!
Happy December!
Vesna
Thank you Vesna! And happy December to you too! 😉
-Shayna