One of the biggest impacts in our entry way has definitely been the skeleton key art. We love it!
And it was FREE! You heard me (or read me), FREE!
This entire project came about because my husband was rummaging through a box of his old keys. He pulled these out and I snatched them up as soon as they hit the counter. Such a treasure!
I already had the frame and the burlap, so I spent ZERO on this DIY project. Oh the sweetness of it.
It’s seriously one of the easiest things to make.
Here’s what you’ll need:
-Picture Frame
-Cardboard (if your frame is missing the glass)
-Skeleton Keys (I used 3)
-Hot Glue Gun
-Super Glue
-Scissors
-Pencil
-Ruler or Tape Measure
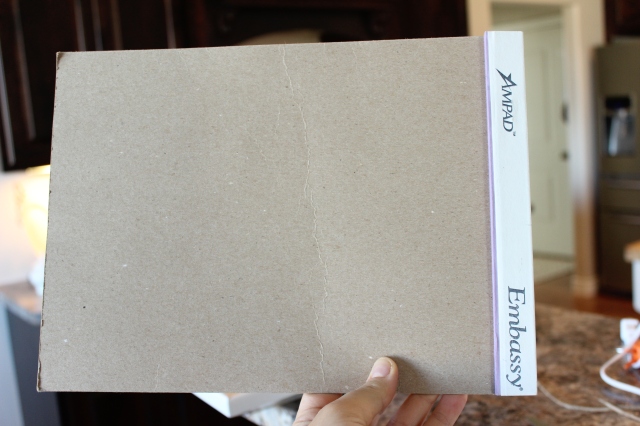
First, pick a frame. Mine didn’t have a glass piece, so I used cardboard instead. An empty notebook back to be exact.
Cut off the top.
 Then measure the cardboard to fit inside the frame. Be sure to leave extra room for the burlap.
Next, cover your cardboard (or glass) in burlap. To do this, line your top corner with the burlap and hot glue it to the cardboard. Continue along the top of the cardboard and then begin doing the same thing down the left side. Once the top and left sides are done, follow the same directions on the other side, pulling tight. The bottom should be the only part that’s not hot glued at this point. Pull the extra fabric tight in one corner on the bottom and glue the fabric to the cardboard. Continue along the bottom, pulling tight the entire way across.
Trim off extra burlap.
Put the cardboard piece in the frame.

 Time for the skeleton keys! I decided to use 3. First I eyed the general layout of the keys and then measured to make sure the keys were centered in the frame at the top, bottom, sides and between each other. This will differ depending on your frame size.
 Now you glue. Hot glue doesn’t work. It will only frustrate you… trust me. I pulled out the big gun: super glue!
 I found it necessary to make a mark above each key so that I knew where to place them once I had glue on the backside. Because the super glue won’t dry quickly, you’ll have time to make sure the keys are properly spaced before you push them onto the burlap. I put a blob of glue in the middle of each key and pressed down, but this could vary depending on your key thickness and weight.
Don’t forget to push down on your keys to be sure that the glue is up close and personal with the burlap. They should be stuck tight.
Now you hang it.
Be proud! You just created an amazingly cheap piece of art!
Did I mention that we love it? Yes, we!
Big smiles!
I’m linking up to: DIY Showoff


[…] couple of my favorite additions to our entry way have been the skeleton key art and the stick & twig star. They were both so easy! And completely […]